Welcome to the Chorus 705 manual, your guide to understanding and maintaining your device. This manual focuses on the stand’s screw size, ensuring stability and safety for optimal performance. Proper assembly and torque specifications are essential for longevity and reliability. Follow the instructions carefully to avoid damage and ensure your Chorus 705 operates at its best.
Overview of the Chorus 705 Device
The Chorus 705 is a high-quality device designed for professional and home use, featuring advanced components for optimal performance. Its robust design ensures durability, while the stand provides stability and balance. The device is engineered to meet high standards, offering precise functionality and reliability. Understanding its components, such as the stand screw size, is crucial for proper assembly and maintenance to ensure peak performance and longevity.
Importance of the Stand in the Chorus 705
The stand is a critical component of the Chorus 705, ensuring stability and balance during operation. It prevents the device from tipping over and provides a secure base for precise functionality. A sturdy stand enhances safety, reduces vibration, and allows for optimal performance. Proper installation and alignment of the stand are essential to maintain the device’s structural integrity and ensure reliable operation over time.
Understanding the Stand Screw Size
The stand screw size is crucial for ensuring proper assembly and stability of the Chorus 705. Correct sizing prevents damage and ensures a secure fit, guaranteeing optimal performance and longevity of the device. Refer to the manual for specific measurements and compatibility details to avoid installation issues. Proper screw size is essential for safety and functionality.
Specifications of the Screw
The screw for the Chorus 705 stand is designed with precise specifications to ensure durability and compatibility. It typically features a metric thread size, such as M6 or M8, with a length suitable for the stand’s thickness. The material is usually high-strength steel or zinc-coated for corrosion resistance. A Phillips or hex head is common, and torque limits are specified to avoid stripping or over-tightening. Always verify the manual for exact measurements to ensure proper fitment and functionality.
Compatibility with the Chorus 705
The screw must meet specific criteria to ensure proper compatibility with the Chorus 705 stand. It should match the device’s thread size and material requirements to prevent damage or instability. Using screws with incorrect dimensions or thread types can lead to compatibility issues, potentially causing the stand to malfunction. Always consult the manual for precise measurements to guarantee a secure and proper fit.

Installation and Assembly Guide
Begin by preparing the stand and screws. Align the stand base with the device, ensuring proper positioning. Tighten screws gradually, checking alignment as you go. Secure firmly but avoid overtightening to prevent damage. Follow the manual’s step-by-step instructions for a stable and balanced setup.
Step-by-Step Assembly Instructions
Start by unpacking all components and identifying the stand screws. Attach the stand base to the device using the provided screws. Ensure proper alignment before tightening. Tighten screws sequentially in a star pattern to maintain balance. Avoid overtightening to prevent damage. Double-check all connections for stability and security. Refer to the manual for specific torque recommendations and visual guides to ensure accuracy during assembly.
Tools Required for the Process
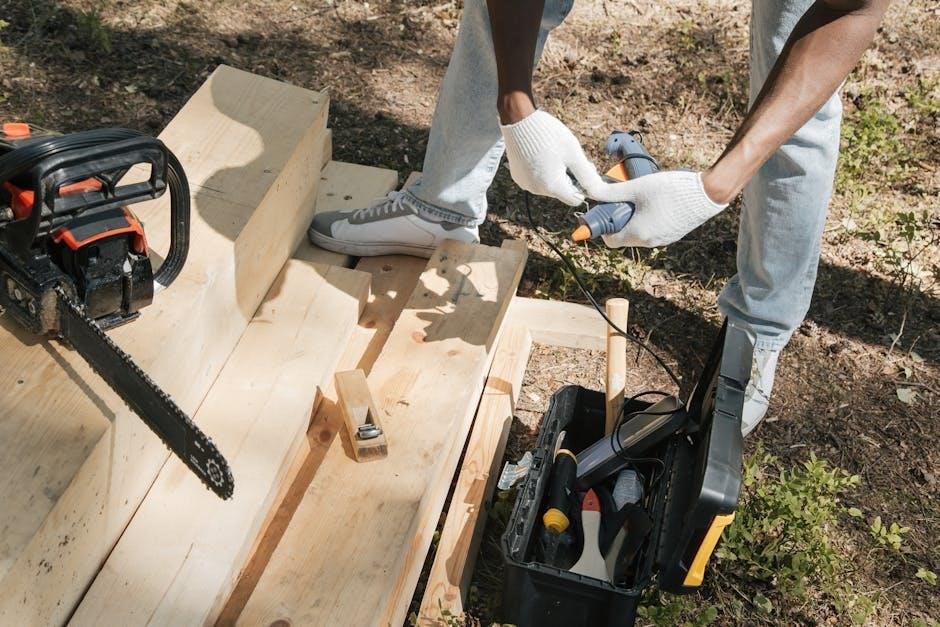
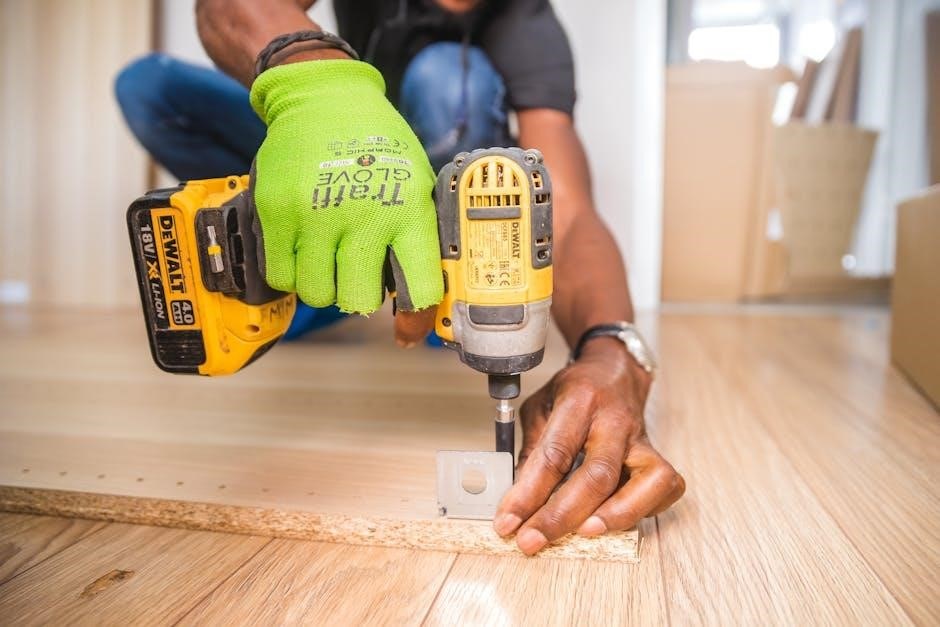
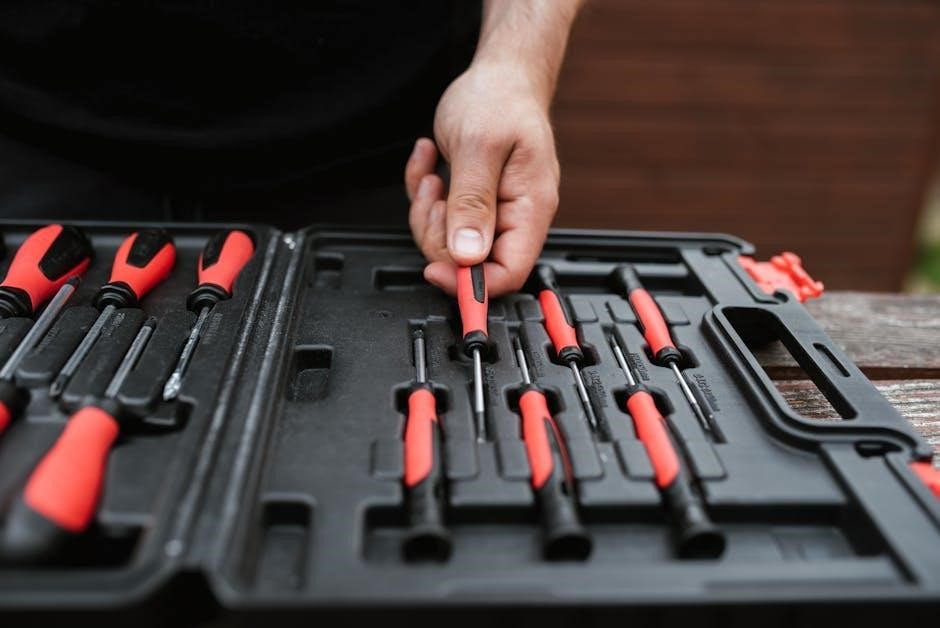
To assemble the Chorus 705 stand, you will need a 4mm or 5mm Allen wrench for the screws, a torque wrench to ensure accurate tightening, and a Phillips screwdriver for any additional adjustments. A spirit level is essential to confirm the stand’s stability and alignment. Pliers and a rubber mallet may also be useful for handling small parts and ensuring secure connections during assembly.

Torque Specifications for the Stand
The Chorus 705 stand requires a torque of 10-15 Nm for secure screw tightening. Exceeding this range may damage the device, while insufficient torque can cause instability. Ensure accuracy for optimal performance and safety.
Recommended Torque Values
The Chorus 705 manual specifies that the stand’s screw torque should be set between 10-15 Nm. This range ensures the stand remains stable without over-tightening, which could damage the screw or strip the threads. Using a torque wrench is advised for precision. Proper torque application is essential for maintaining the device’s structural integrity and performance. Always refer to the manual for exact specifications to avoid errors during assembly.
Consequences of Incorrect Torque
Incorrect torque can compromise the stand’s structural integrity, leading to instability or damage. Over-tightening may strip screws or warp components, while under-tightening can result in loose connections and safety hazards. Improper torque application may void the warranty and affect performance. Always adhere to the specified torque range to ensure reliability and safety. Neglecting this can lead to costly repairs or equipment failure.

Troubleshooting Common Issues
Identify screw-related problems by checking for loose or stripped screws. Address issues promptly to prevent further damage or instability. Regular inspections ensure optimal performance and safety.
Identifying Screw-Related Problems
Check for loose screws by gently tightening them. Look for stripped screws, which may require replacement. Ensure proper alignment during assembly to prevent damage. Environmental factors like humidity or temperature changes can also affect screw integrity. Use a screwdriver or torque wrench to test stability and identify issues early to avoid further complications.
Solutions for Loose or Stripped Screws
For loose screws, re-tighten using a torque wrench to avoid over-tightening. Stripped screws require replacement with identical size and material. Apply a small amount of threadlocker for added security. If screws remain loose, inspect the stand for damage or misalignment. Refer to the manual for specifications and seek professional assistance if issues persist.
Maintenance Tips for the Stand
Regularly inspect the stand for wear and tear. Clean screws and bolts to prevent rust. Lubricate moving parts annually for smooth operation. Ensure all connections are secure to maintain stability and performance.
Cleaning and Lubrication
Regularly clean the stand to prevent dust and debris buildup. Use a soft cloth and mild detergent to wipe down surfaces. For screws and bolts, apply a silicone-based lubricant to ensure smooth operation. Avoid harsh chemicals that might damage the finish. Lubricate moving parts annually to maintain optimal functionality. Inspect and clean the stand monthly to prevent rust and corrosion, ensuring longevity and stability.
Regular Inspection Schedule
Inspect the stand every month to ensure screws are tight and parts are secure. Check for wear, rust, or damage. Annually, disassemble and clean moving parts, then reassemble with fresh lubrication. Refer to the manual for specific torque values during reassembly. Regular inspections prevent instability and ensure optimal performance, maintaining the longevity of your Chorus 705 stand. Always follow safety guidelines during checks.
Comparison with Other Models
The Chorus 705 stands out with its unique screw size and material, offering superior durability compared to other models. Its design ensures better stability and ease of use.
Differences in Screw Size and Material
The Chorus 705 stand screw size and material differ significantly from other models, offering enhanced durability. Its M6 screws, made from high-strength stainless steel, provide superior stability. Compared to competitors using smaller screws, the Chorus 705 ensures a more secure connection, reducing the risk of loosening over time. The material choice also resists corrosion, making it ideal for long-term use.
Performance Comparison
The Chorus 705 stand screw size enhances performance by ensuring stability and durability. Its M6 screws provide a secure connection, minimizing vibration and improving overall functionality. Compared to models with smaller screws, the Chorus 705 offers superior stability, making it ideal for demanding applications. The high-grade stainless steel material further boosts reliability, ensuring long-term performance without compromise.
Safety Precautions
Always handle the Chorus 705 stand with care. Use proper tools to avoid stripped screws. Ensure the stand is level and stable to prevent accidents during assembly and use.
Handling the Stand Safely
When handling the Chorus 705 stand, ensure it is placed on a stable, level surface. Avoid touching moving parts and keep loose clothing tied back. Use protective gloves to prevent injuries. Never leave the stand unattended during assembly or use. Proper handling ensures safety and prevents damage to the device. Always follow the manual’s guidelines for secure setup and operation.
Preventing Accidents During Assembly
To prevent accidents during assembly, ensure all parts are securely fastened using the correct screw size. Tighten screws gradually and avoid over-tightening, which can strip threads. Keep tools organized and within reach to minimize tripping hazards. Wear safety goggles and work in a well-lit area. Double-check each step in the manual before proceeding to ensure a safe and successful assembly process.

Online Resources for Further Assistance
Visit the official Chorus 705 website for detailed manuals and guides. Explore community forums for user discussions and expert advice on stand screw size and assembly.
Official Manuals and Guides
The official Chorus 705 manual provides detailed instructions for stand assembly, including screw size specifications. Download the PDF guide from the manufacturer’s website for precise torque values and installation steps; Additional resources, such as troubleshooting guides, are also available to ensure proper setup and maintenance of your device.
Community Forums and Expert Advice
Online forums and expert communities offer valuable insights and solutions for the Chorus 705 stand screw size. Users share experiences, troubleshooting tips, and expert advice. Engage with these platforms to resolve common issues or gain installation tips. Visit expert forums for reliable guidance and ensure your stand is assembled correctly for optimal performance and longevity.
The Chorus 705 manual provides essential guidance on stand screw size, assembly, and maintenance. Follow the instructions carefully to ensure safety, stability, and optimal performance of your device.
The Chorus 705 manual emphasizes proper stand screw sizing for stability and safety. Correct torque application ensures longevity, while regular inspections and maintenance prevent wear. Following the guide’s instructions is crucial for optimal performance and avoiding damage. Adherence to specified torque values and assembly steps guarantees reliability and extends the device’s lifespan, ensuring it functions as intended.
Final Tips for Optimal Use
Always refer to the Chorus 705 manual for precise screw sizing and torque guidelines. Use the recommended tools to avoid stripping screws and ensure stability. Regularly inspect the stand for wear and tighten screws as needed. Maintain a clean and dry environment to prevent corrosion. By following these tips, you’ll ensure optimal performance, safety, and longevity of your Chorus 705 stand.