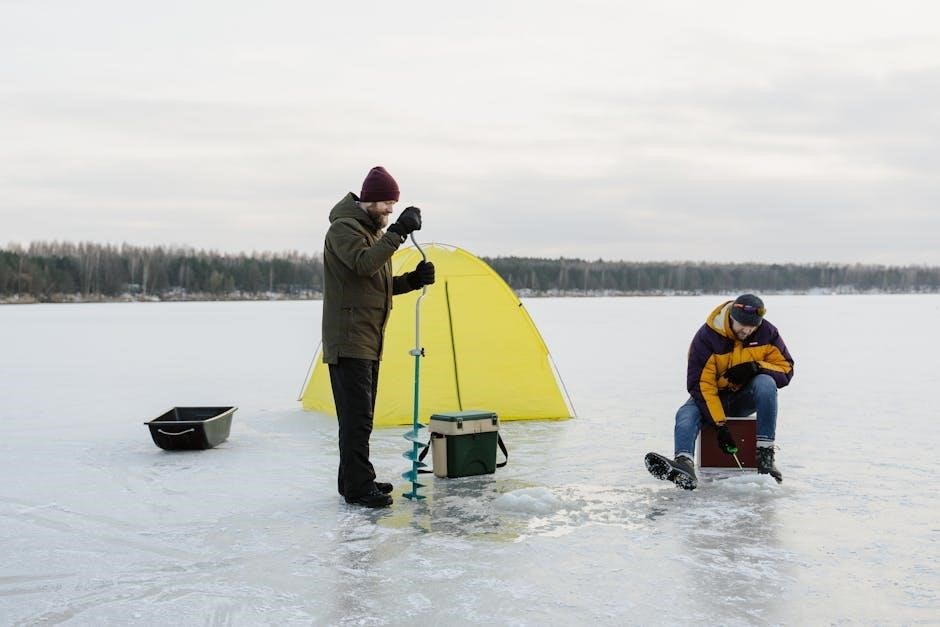
Understanding the Problem
Fishing rod guides play a crucial role in line control and casting precision. When damaged, they can cause line tangles, inaccurate casts, and reduced fishing performance. Broken or worn-out guides often result from heavy use, accidents, or exposure to harsh conditions. The problem lies in the guides’ secure attachment to the rod, which, when compromised, leads to a loose fit or exposure of the rod’s inner structure. This not only affects the rod’s sensitivity but also its overall durability. Replacing guides correctly is essential to restore the rod’s functionality and ensure optimal fishing experiences.
Tools and Materials Needed
To successfully replace the guides on your fishing rod, you will need a variety of tools and materials. These items ensure that the replacement process is smooth, precise, and durable. Below is a detailed list of what you will need:
- Cutting Tool: A sharp utility knife or rod guide removal tool is essential for cutting the old epoxy and thread that holds the damaged guide in place. Be careful to avoid damaging the rod blank during this process.
- Sandpaper: Fine-grit sandpaper is used to smooth out the area around the broken guide, ensuring a clean surface for the new guide. This helps in achieving a strong bond between the rod and the new guide.
- Epoxy Resin: A high-quality epoxy is necessary to secure the new guide to the rod. It provides a strong, waterproof bond that can withstand the stresses of fishing.
- Thread: Specialized rod-building thread is used to wrap around the guide, holding it in place while the epoxy dries. Choose a color that matches your rod for a professional finish.
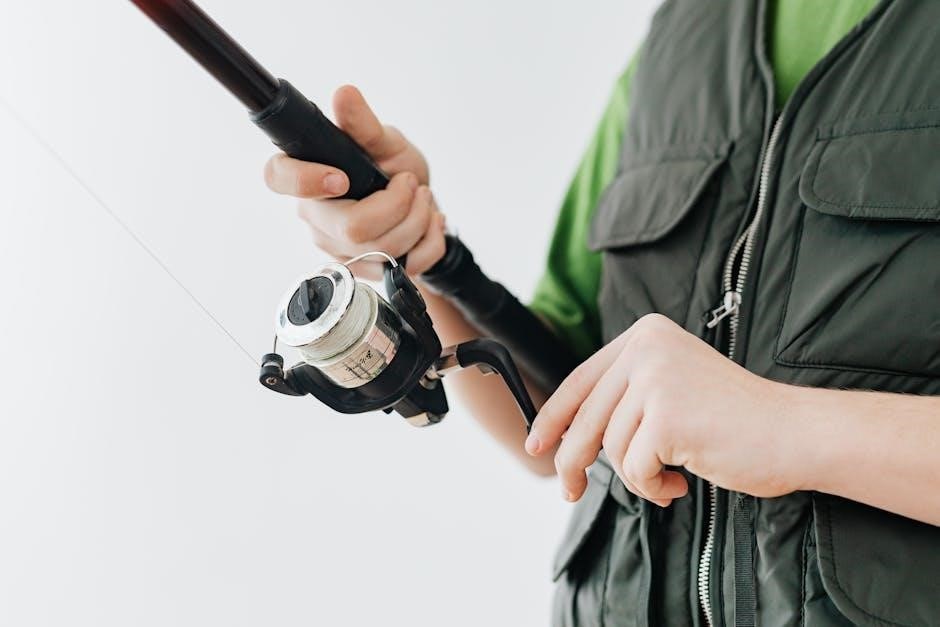
- New Guides: Purchase replacement guides that match the type and size of the original ones. Guides come in different materials, such as titanium or stainless steel, so select ones that suit your fishing needs.
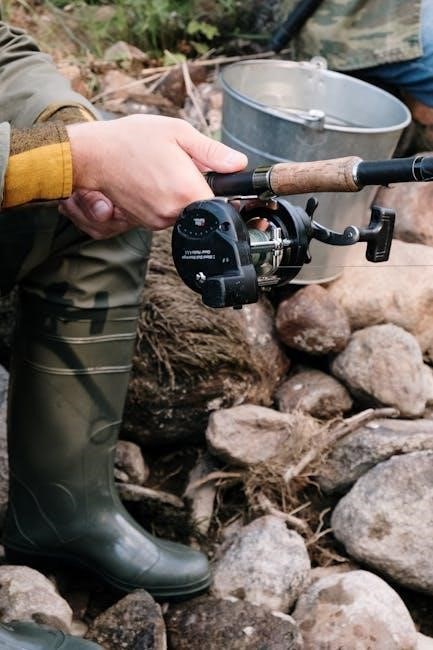
- Alignment Tool: This helps position the new guide accurately on the rod. Proper alignment is critical for maintaining the rod’s balance and performance.
- Clamps or Rod Rest: These are used to hold the rod steady while you work on it, ensuring stability during the replacement process.
- Protective Gloves and Eyewear: These are essential for protecting yourself from sharp edges and epoxy fumes during the repair.
- Mixing Cups and Stirrers: These are needed for mixing the epoxy resin and hardener. Make sure to use disposable ones to avoid cleanup hassles.
- Rod Wrapping Brushes: These small brushes are used to apply epoxy to the thread and guide feet, ensuring a neat and even application.
In addition to these tools, it’s important to have a clean, well-lit workspace to perform the replacement. A rod-building vice or a makeshift setup can also be helpful for keeping the rod secure during the process.
Optional materials include a thread cutter for trimming excess thread and a UV curing light to speed up the epoxy drying process. However, these are not strictly necessary if you’re working on a budget or prefer traditional methods.
Before starting, double-check that all materials and tools are within reach. Proper preparation is key to ensuring the replacement process goes smoothly and the final result is professional and durable.
Replacement Process
Replacing the guides on your fishing rod is a meticulous process that requires patience and attention to detail. The goal is to ensure that the new guides are securely attached and properly aligned to maintain the rod’s performance and sensitivity. Below is a step-by-step guide to help you through the replacement process:
Remove the Old Guide
Start by carefully cutting the old guide’s epoxy and thread using a sharp utility knife or a guide removal tool. Be cautious not to damage the rod blank. Gently twist the guide back and forth while pulling it away from the rod to dislodge it completely. Once removed, use sandpaper to smooth the area, ensuring a clean surface for the new guide.
Prepare the Rod
Clean the area where the new guide will be installed using a solvent to remove any residue or dirt. This ensures a strong bond between the rod and the epoxy. Use fine-grit sandpaper to lightly roughen the surface, which helps the epoxy adhere better.
Position the New Guide
Using an alignment tool, place the new guide in the correct position on the rod. Ensure it is straight and evenly spaced relative to the other guides. Double-check the alignment to avoid any imbalance in the rod’s performance.
Secure the Guide
Apply a small amount of epoxy to the base of the guide and press it firmly onto the rod. Use clamps or a rod rest to hold the guide in place while the epoxy sets. Allow the epoxy to cure completely, following the manufacturer’s instructions for drying time.
Wrap the Thread
Once the epoxy is dry, begin wrapping the thread around the guide feet to secure it further. Apply a thin layer of epoxy to the thread as you wrap, ensuring it is evenly coated. Use a rod wrapping brush to smooth out any excess epoxy and achieve a neat finish.
Finish and Inspect
After completing the thread wraps, allow the epoxy to cure fully. Inspect the guide to ensure it is securely attached and properly aligned. Trim any excess thread using a thread cutter and apply a final coat of epoxy to seal the wraps.
Throughout the process, work in a well-lit and clean environment to maintain precision. If you’re unsure about any step, consider seeking guidance from a professional rod builder. Properly replacing the guides will restore your rod to its optimal performance, ensuring enjoyable and successful fishing experiences.

Testing and Maintenance
After replacing the guides on your fishing rod, it is essential to test and maintain the rod to ensure optimal performance and longevity. Proper testing and regular maintenance can prevent future issues and ensure that your rod continues to function effectively during your fishing trips.
Initial Testing
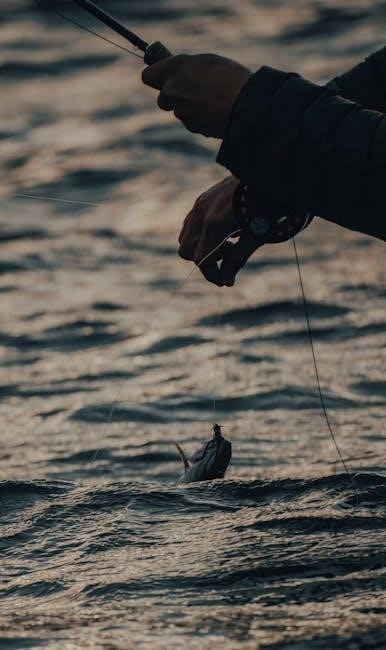
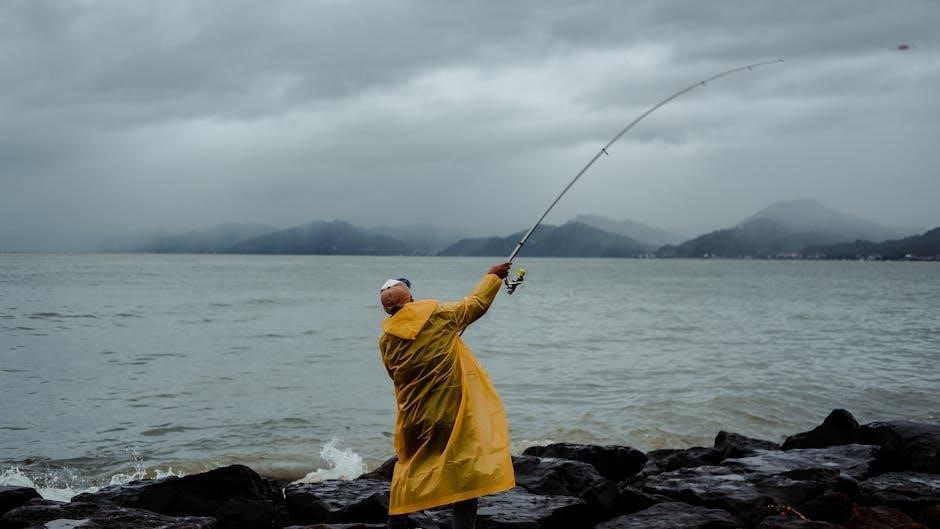
Once the epoxy has fully cured, take the rod to an open area for a test cast. Pay attention to how the line flows through the guides. A smooth, consistent flow indicates that the guides are properly aligned and securely attached. If you notice any hesitation or tangling, it may be necessary to adjust the guide alignment or check for any obstructions.
Inspect the Guides Regularly
Regular inspections are crucial to identify potential issues before they escalate. Examine each guide for signs of wear, such as cracks, dents, or loose attachment points. Use a magnifying glass or a bright light to spot any hairline fractures or uneven epoxy application. Addressing these issues early can prevent sudden breakages during use.
Clean the Guides
Dirt, grime, and old line residue can accumulate on the guides, affecting their performance. Use a soft cloth and a mild cleaning solution, such as isopropyl alcohol, to wipe down the guides. Avoid harsh chemicals or abrasive materials, as they may damage the metal or epoxy. Regular cleaning ensures smooth line flow and prevents corrosion.
Check the Thread Wraps
Inspect the thread wraps around the guide feet for any signs of fraying or lifting. If you notice loose threads, apply a small drop of clear epoxy to secure them. This simple step can prevent the guides from becoming dislodged during casting or fighting fish.
Store the Rod Properly
When not in use, store the rod in a protective case or rod sleeve to shield it from dust and accidental damage. Avoid leaning the rod against hard surfaces or leaving it in direct sunlight for extended periods, as this can cause the epoxy to degrade over time.
Maintain the Rod During Fishing Trips
After each fishing trip, rinse the rod with fresh water to remove any salt or debris. This is especially important for rods used in saltwater environments, where corrosion can occur quickly. Store the rod in a cool, dry place to prevent warping or damage to the guides.
By following these testing and maintenance steps, you can extend the life of your fishing rod and ensure it performs at its best. Regular care not only enhances your fishing experience but also protects your investment in quality equipment.
Additional Considerations
When replacing the guides on your fishing rod, there are several additional factors to consider to ensure the process is successful and long-lasting. These considerations will help you achieve professional-like results and maintain your rod’s performance.
Choosing the Right Materials
Selecting the appropriate guides and materials is crucial. Ensure that the replacement guides match the original ones in size, type, and quality. Using mismatched guides can affect the rod’s balance, casting accuracy, and overall performance. If the exact model is unavailable, opt for guides with similar specifications to maintain consistency.
Environmental Factors
Consider the fishing environment where you primarily use the rod. For example, saltwater fishing requires guides made from corrosion-resistant materials like stainless steel or titanium. In freshwater environments, standard guides may suffice. Understanding your usage conditions helps in selecting durable and suitable replacement parts.
Tools and Workspace Preparation
Gather all necessary tools and materials before starting the replacement process. This includes cutting tools, epoxy, mixing sticks, and a clean, stable workspace. A well-prepared workspace reduces the risk of errors and ensures a smooth workflow. Cover your work surface with paper or a cloth to protect it from epoxy spills and debris.
Patience and Precision
Replacing guides requires patience and attention to detail. Avoid rushing through the process, especially when applying epoxy or aligning the guides. Small mistakes can lead to misaligned guides or weak bonds, which may fail during use. Take your time to ensure each step is completed accurately.
Professional Assistance
If you are unsure or uncomfortable with any part of the replacement process, consider seeking help from a professional rod builder or a reputable tackle shop. While DIY repairs can save money, improper techniques may result in a poorly functioning rod. Professional assistance ensures a high-quality repair and extends the life of your equipment.
Maintenance After Replacement
After replacing the guides, regular maintenance is essential to preserve the rod’s condition. Clean the guides periodically to remove dirt and debris, and inspect them for signs of wear or damage. Proper care will ensure your rod continues to perform optimally for future fishing trips.
By carefully considering these factors, you can successfully replace your fishing rod guides and enjoy improved performance on the water. Remember, attention to detail and the right materials are key to a durable and effective repair.